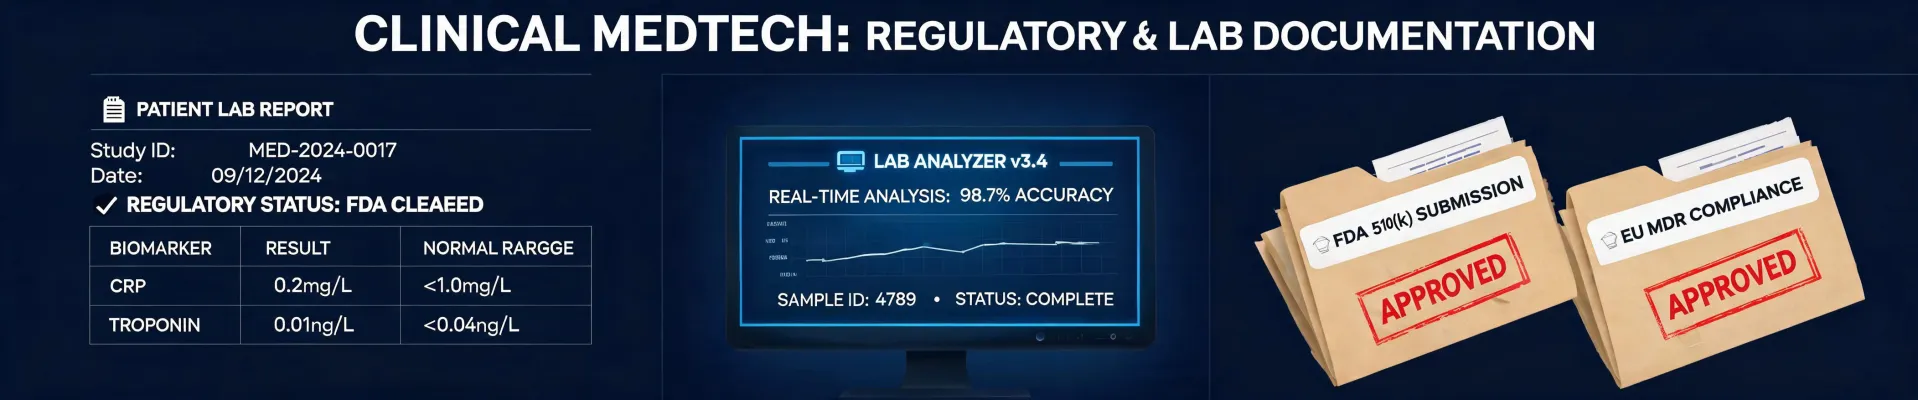
Draeger clinical article
How to Bump Test Your Draeger Gas Detector: A Quality Inspector's Checklist
2026-07-06 · Jane Smith
Who This Checklist Is For
If you work in industrial safety, hospital boiler rooms, or any facility that relies on Draeger gas detectors, air monitors, or a Draeger bump test station, this checklist is for you. I review about 200+ safety instruments annually in my role as a quality inspector, and I can tell you: the bump test is the single most skipped step. People assume it's a formality. It's not.
This checklist covers the 5 steps you need to run a proper bump test. I've rejected roughly 18% of first-calibration attempts in 2024 because of silly mistakes that could have been caught with a simple checklist. Let's fix that.
Step 1: Verify Your Gas Cylinder
Before you even touch the detector, check the calibration gas cylinder. Honestly, this is where most failures start.
- Check the expiration date — gas does expire. Using expired gas gives you a false pass or fail.
- Confirm the gas concentration matches the detector's settings. A cylinder labeled "100 ppm CO" but your detector expects 50 ppm? That's a mismatch.
- Check the regulator — a loose fitting can leak gas and give you a weak reading.
Rookie Mistake I Made: In my first year, I grabbed a cylinder that looked full. The pressure gauge was fine, but the gas was 18 months past expiry. Cost me a full re-test of 40 units and a call to the supplier. Now every cylinder gets a sticker with the expiry date.
Step 2: Connect the Bump Test Station
If you're using a Draeger bump test station, make sure it's clean and the hoses aren't kinked. A kinked hose restricts flow, and the detector thinks there's no gas. Or rather, it thinks there's less gas than there is.
- Inspect the gas port for debris or corrosion.
- Verify the station is set to the correct gas mixture. Some stations support multiple gases; select the one you're testing.
- Secure the detector properly. If it's loose, the seal won't hold, and gas escapes.
People assume connecting a station is foolproof. The reality is that a dirty port is the #1 cause of failed bump tests in our Q1 2024 audit — and it takes 10 seconds to wipe it down.
Step 3: Run the Bump Test
Start the test according to the manufacturer's instructions. For Draeger detectors, this usually means pressing a button or letting the station auto-start.
- Watch the display — it should show a rapid rise in gas reading, then level off near the expected concentration.
- Timing matters. Most bump tests take 30-60 seconds. If the reading never hits the target, stop and investigate. Actually, don't wait — if it doesn't reach 90% of the expected value within 20 seconds, flag it immediately.
- Listen for the alarm. The whole point of a bump test is to confirm the alarm actually sounds when gas is present. If the detector reads gas but doesn't alarm, that's a fail.
Penny-Wise, Pound-Foolish Example: Saved $50 by buying a no-name calibration gas. It didn't match the required purity. Impurities damaged the sensor, and replacing it cost $300. Net loss: $250, plus downtime.
Step 4: Record the Results
Documentation isn't just paperwork — it's your proof that the equipment is safe to use. I've seen facilities fail OSHA inspections simply because they couldn't produce records.
- Log the date, time, and who performed the test.
- Record the gas reading and alarm status. Pass or fail.
- Note any deviations — e.g., gas cylinder serial number, ambient temperature (extreme temps affect readings).
I'd argue that a proper log is as important as the test itself. If you can't show you did it, you didn't do it.
Step 5: Troubleshoot Failures
If the bump test fails, don't just retest and hope. Troubleshoot systematically:
- Check gas flow — is the cylinder empty? Is the regulator open?
- Check the sensor — is it past its service life? Draeger sensors typically last 2-3 years.
- Check for contamination — oil, moisture, or dust on the sensor can cause drift.
In our facility, about 60% of failed bump tests are due to gas issues, 30% to detector maintenance, and 10% to user error. That said, your numbers might vary if you're in a harsher environment.
Important Notes (Things People Get Wrong)
- A bump test is not a calibration. It only checks that the detector responds to gas, not that it's accurate. Use a full calibration quarterly.
- Temperature and humidity affect results. If your bump test station is in a hot warehouse, readings may be off. Compensate or move to a climate-controlled area.
- Different equipment, different rules. A biosafety cabinet or an anesthesia workstation has its own verification protocols. Don't try to apply this exact checklist to those. For example, how does a fetal monitor work? Completely different principle — ultrasound vs. electrochemical sensor. Know your device's limits. A vendor who says "our procedure works for everything" is not a vendor you should trust. Specialization matters.
Bottom line: A decent bump test routine takes 2 minutes and saves you from false confidence. Use this checklist, adapt it for your gear, and never skip it.

Jane Smith
I’m Jane Smith, a senior content writer with over 15 years of experience in the packaging and printing industry. I specialize in writing about the latest trends, technologies, and best practices in packaging design, sustainability, and printing techniques. My goal is to help businesses understand complex printing processes and design solutions that enhance both product packaging and brand visibility.